Our Epoxy Flooring Installation Process
A clear sequence for evaluating, preparing, coating, and returning concrete floors to service.
Step 1: Project Evaluation
We review the room, slab condition, existing coatings, damage, contamination, moisture history, access, traffic, sunlight, cleaning, desired finish, and available cure window. The goal is to define the right scope before materials are selected.
Step 2: Mechanical Preparation
Diamond grinding removes weak surface paste and creates a concrete profile suitable for coating adhesion. Edges, corners, thresholds, steps, and fixed objects require specific attention. Dust-control equipment helps manage debris, but the work area should still be isolated from belongings and occupied rooms.
Step 3: Repairs & Detailing
Cracks, pits, spalls, transitions, and damaged areas are addressed according to their condition and expected movement. Repairs improve the coating substrate, but they do not turn moving or structurally deficient concrete into a new slab.
Step 4: Base Coat
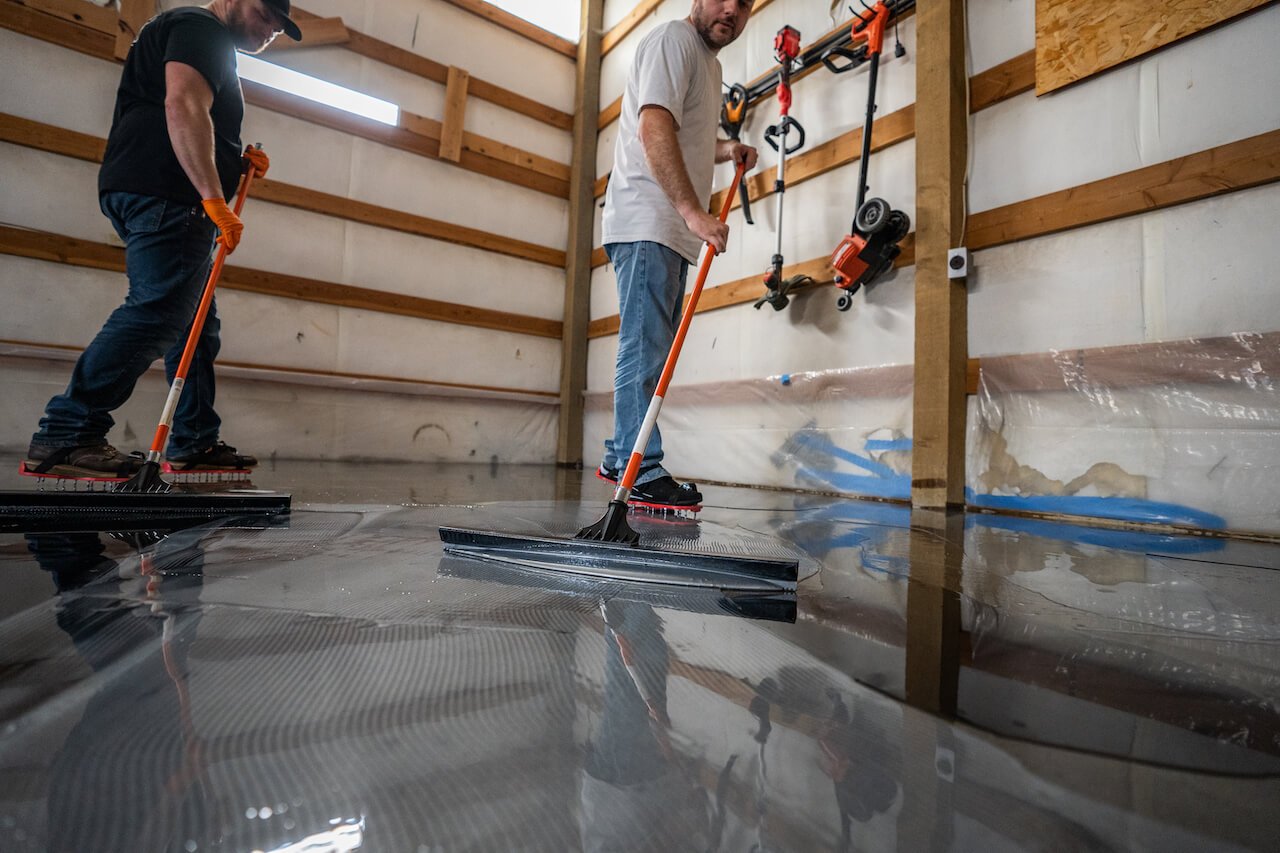
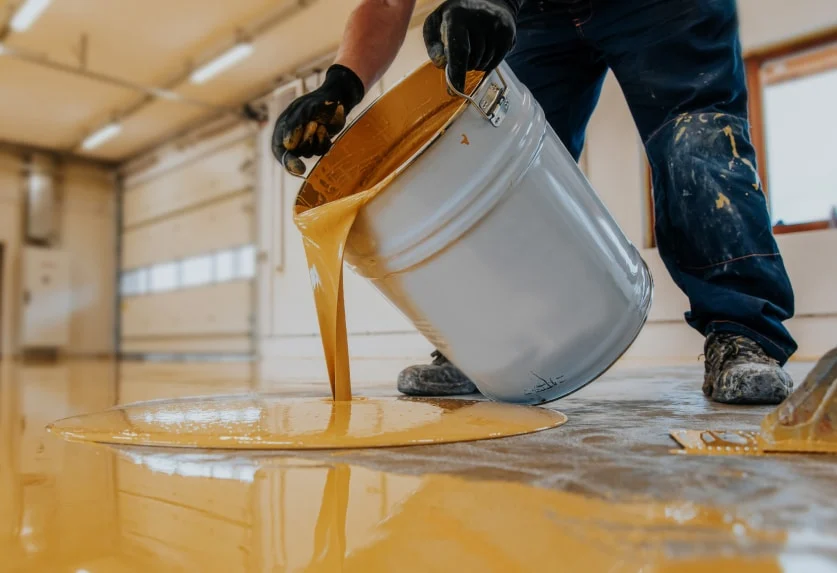
The specified epoxy, polyurea, or other compatible base layer is mixed and applied within product and temperature requirements. Coverage, working time, slab temperature, and environmental conditions are monitored during installation.
Step 5: Broadcast Media
Decorative flake or quartz is distributed into the wet base coat. A full broadcast continues until the surface will not accept additional media. After curing, excess material is removed and the floor is scraped or prepared for the next layer.
Step 6: Protective Topcoat
The topcoat seals the broadcast layer and provides the final sheen, cleanability, texture, chemical resistance, and UV performance specified for the room. Traction additives may be incorporated when appropriate.
Step 7: Cure & Return to Service
Foot traffic, storage, rolling loads, and vehicles may have different cure windows. The installer provides project-specific instructions based on coating chemistry, temperature, ventilation, and actual installation conditions.
What to Expect on Installation Day
The room should be cleared before arrival unless the proposal states otherwise. Confirm access, power, lighting, gate instructions, pets, alarms, parking, and any occupied-space concerns. Preparation equipment creates noise, and coating materials require controlled access while applied and curing.
Do not move belongings or vehicles back early. Following the cure and care instructions protects the new surface during its most vulnerable period.
Request a Free Project Estimate
Tell us the location, approximate square footage, concrete condition, and finish you have in mind.